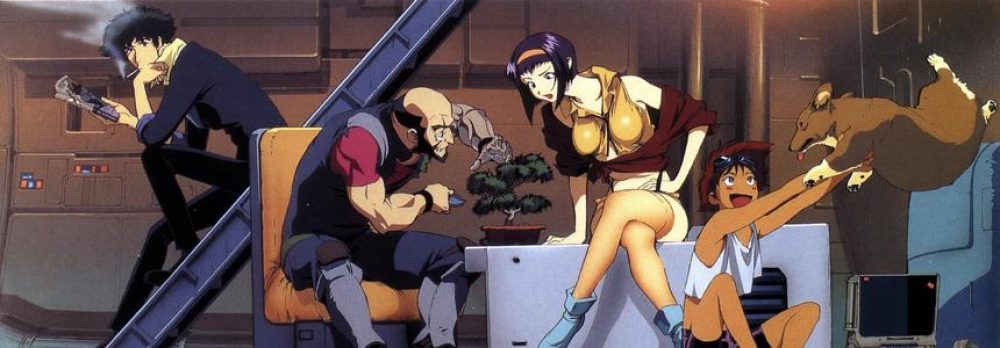
This week I have been working on setting up materials in UE4. Considering the style of the short film, I wanted to use a cartoon-like rendering style, which has a technical term called Cel Shading. By analysing some established implementations, I decided to use the Lambert lighting model.
In UE4, there is no ready-made lambert lighting model, but the nodes it provides can be used to easily implement the algorithm. Obtain the direction of the light source through the blueprint, and then calculate with the surface normal of the object to realize the lambert lighting model.

But at this time, we can notice that the current result is not good. The shadow part is completely black, which will lose a lot of details. Although in some old comics, the shadow part is pure black, but in this story, I don’t need such a strong contrast. I hope the colour is lighter and lighter, here is a new lighting model, half-lambert, the principle is similar to the lambert model, first used in the Half-Life game to improve the details of the shadows, In fact, this method calculated the result of the lambert lighting model *0.5+0.5. After such a calculation, the original value of 1 is still 1, and the original value of 0 becomes 0.5, which means that the picture is brightened.

Next, the shadows can be manipulated using the step function, which is available in UE4 as the floor function and the ceil function. Here I used the ceil function because I didn’t want the shadows to be pure black. This produces a clearer junction between light and dark.

But on some object surfaces, such as faces I don’t want the shadow edges to be so sharp. So here I use another commonly used method, ramp map mapping. The sharpness of the edges can be controlled by manually generating a ramp map.

Overall material nodes:

In the end, I decided to use the second method for the eyes and face and the first method for the rest of the objects. However, I felt that some detail was missing in the final result, so I recreated the mapping again. This time instead of just solid colours, I added some textural effects, such as adding some fibre texture to the clothes and exported the normal maps.


Here is the current result:

